
Hot cocoa cutout cookies are the perfect treat for holiday baking. They combine the cozy flavor of hot cocoa with a tender sugar cookie base, and they make adorable ugly sweater cookies for Christmas parties and cookie exchanges. If you love hot cocoa flavor in baked goods, these cookies are a fun and festive twist.

Hot Cocoa Cutout Cookies
These hot cocoa cutout cookies taste like a warm mug of cocoa folded into a classic sugar cookie. They hold their shape well during baking, which makes them ideal for cutout designs and decorating. I used an ugly sweater cookie cutter to make holiday-themed cookies, but any cutter works. The dough is sturdy and easy to roll, and the finished cookies remain soft, especially once iced.
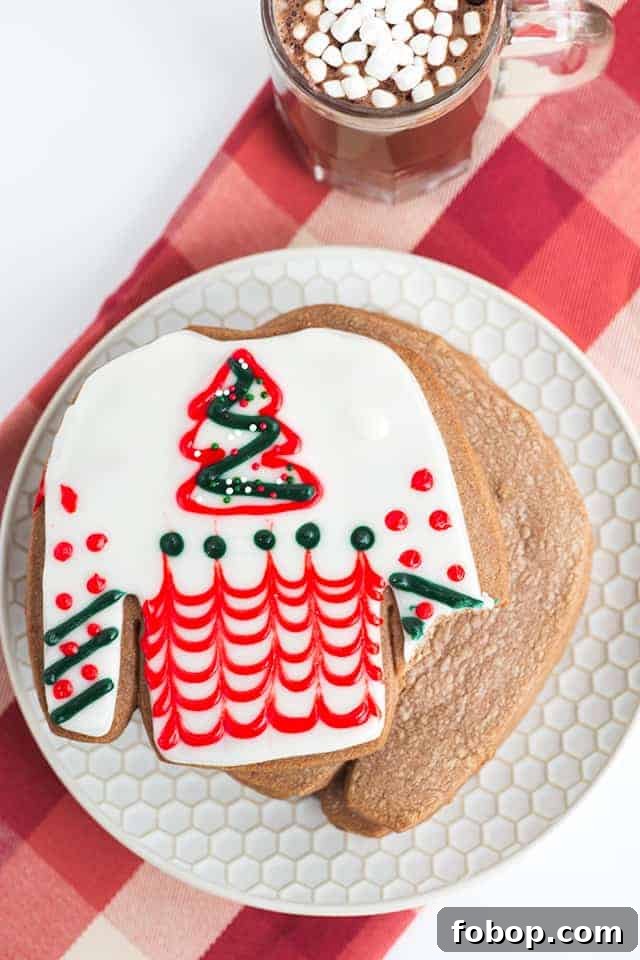
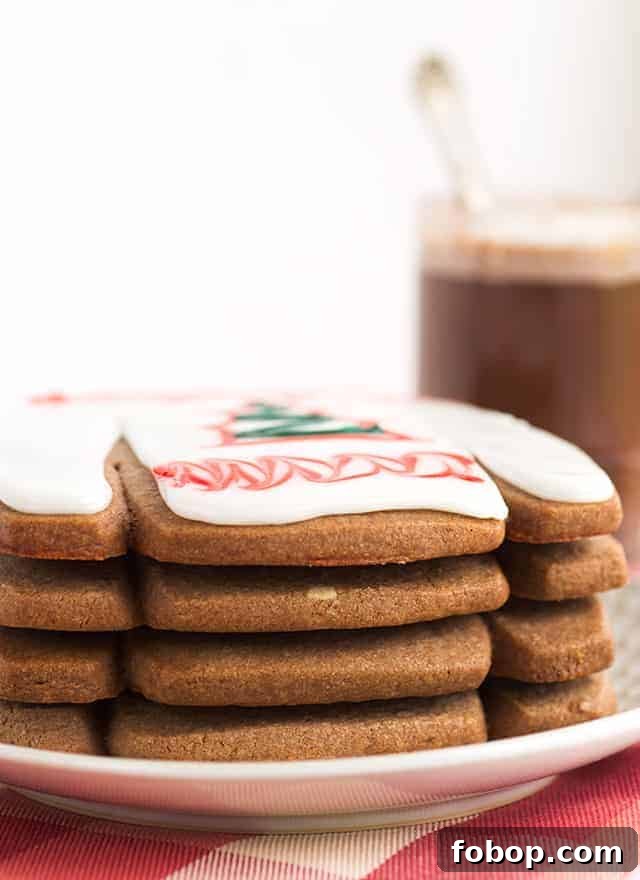
I decorated mine with a simple icing that resembles royal icing but without meringue — it’s easier to make and, in my opinion, tastier. You can also use any store-bought frosting that crusts slightly for easier stacking and storage. The icing helps the cookies stay soft and gives a beautiful canvas for piping designs.
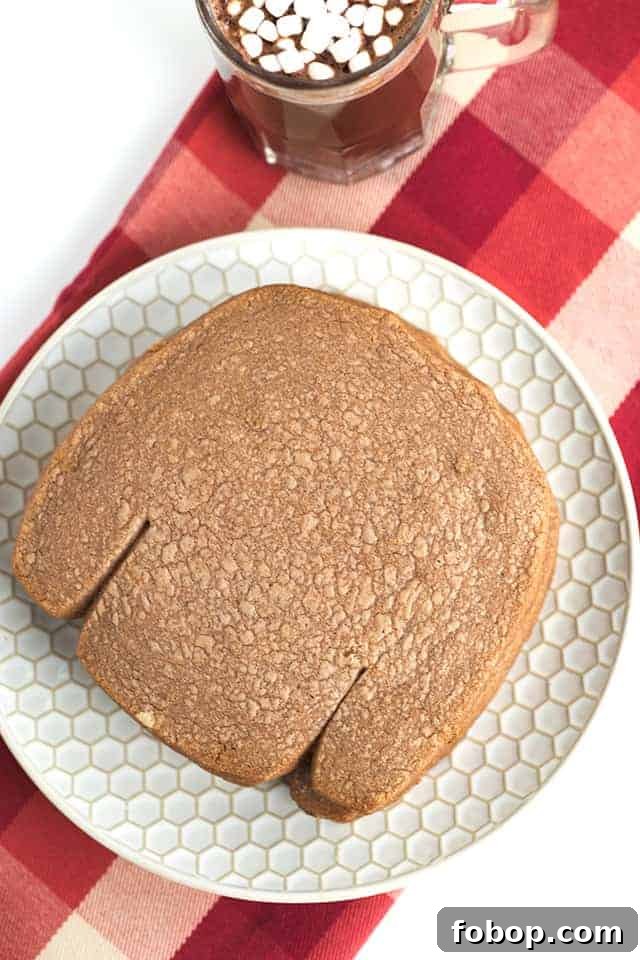
These cookies don’t spread much while baking, so your cutout shapes will stay crisp and defined. I rolled the dough between parchment paper to an even thickness, chilled it well, and the cutters produced clean edges. If you plan to add stamped patterns or texture before baking, look for a cutter set that includes a small roller or embosser.
Recipe Summary
These hot cocoa cutout cookies taste like a cozy mug of cocoa and make an excellent base for decorated holiday cookies. The recipe yields sturdy, soft cookies that are easy to frost and decorate.
Details
- Prep Time: 20 mins
- Cook Time: 17 mins
- Total Time: 37 mins (plus chilling)
- Course: Dessert
- Cuisine: American
- Servings: about 6 large cookies (adjust as needed)
- Calories (approx.): 835 kcal per cookie
Ingredients
Cookies
- 3/4 cup salted butter, room temperature
- 1 cup granulated sugar
- 1 large egg
- 1 tablespoon vanilla bean paste or vanilla extract
- 2 1/4 cups all-purpose flour
- 1 teaspoon baking powder
- 1 teaspoon cornstarch
- 3 packets hot cocoa mix (about 7 1/2 tablespoons)
Flooding Icing
- 2 cups powdered sugar
- 1 tablespoon light corn syrup
- 3 tablespoons plus 1 teaspoon whole milk (adjust to reach desired consistency)
- 1 teaspoon vanilla extract
Stiff Icing
- 2 cups powdered sugar
- 1 tablespoon light corn syrup
- 2 tablespoons plus 2 teaspoons whole milk
- 1 teaspoon vanilla extract
Instructions
Cookies
- In a large mixing bowl, cream 3/4 cup salted butter and 1 cup granulated sugar together on medium speed until light and fluffy.
- Beat in 1 large egg and 1 tablespoon vanilla until incorporated. Set aside.
- In a separate bowl, whisk together 2 1/4 cups all-purpose flour, 1 teaspoon baking powder, 1 teaspoon cornstarch, and 3 packets of hot cocoa mix.
- Add the dry ingredients to the wet ingredients and mix until the dough begins to come together. It may look dry at first; continue mixing until it clumps. Use your hands to press the dough together if needed.
- Place the dough between two sheets of parchment paper and roll to about 1/4 inch thick.
- Chill the dough in the refrigerator for at least one hour; longer chilling (even overnight) makes rolling and cutting easier and improves texture.
- Preheat the oven to 350°F (175°C) and line baking sheets with parchment paper.
- Cut shapes from the chilled dough using your chosen cookie cutter and transfer to the prepared baking sheet.
- Bake for about 16–17 minutes, or until the edges just begin to brown. Smaller cutters will require less time, so watch closely.
- Let cookies cool on the baking sheet for about 10 minutes, then transfer to a wire rack to cool completely before decorating.
Flooding and Stiff Icing
- For the flooding icing: combine 2 cups powdered sugar, 1 tablespoon light corn syrup, 3 tablespoons plus 1 teaspoon whole milk, and 1 teaspoon vanilla in a medium bowl. Stir until smooth. If the icing is too thick, add an extra teaspoon of milk at a time until it reaches a runny, floodable consistency.
- For the stiff icing: combine 2 cups powdered sugar, 1 tablespoon light corn syrup, 2 tablespoons plus 2 teaspoons whole milk, and 1 teaspoon vanilla. Stir until fully incorporated; this should hold its shape for outlining and details.
- If you want colored icing, divide the icing into small bowls and tint with gel or paste food coloring to preserve consistency and color intensity.
- Fill a piping bag with stiff icing fitted with a small round tip and outline each cookie. Put the flooding icing into a separate piping bag with a slightly larger opening or snip a small hole.
- Pipe flooding icing into the outlined area, then use a toothpick to spread the icing into any small gaps and to remove air bubbles.
- To add designs, pipe colored icing onto the wet flood layer and swirl or drag with a toothpick to create patterns. Work while the base flood is still wet for smooth blending.
- Allow decorated cookies to dry completely before stacking or packaging. Drying time varies depending on humidity and thickness of icing.
Notes
You can use unsalted butter instead of salted; if you do, add 1/2 teaspoon salt to the dry ingredients. Adjust the amount of hot cocoa mix to taste — some mixes are sweeter or more chocolate-forward than others. For easier handling and neater decorations, chill cut cookies briefly on the baking sheet before transferring to the rack.
Nutrition (Approximate)
Calories: 835 kcal | Carbohydrates: 150 g | Protein: 6 g | Fat: 24 g | Saturated Fat: 14 g | Cholesterol: 88 mg | Sodium: 217 mg | Potassium: 150 mg | Fiber: 1 g | Sugar: 112 g | Vitamin A: 750 IU | Calcium: 54 mg | Iron: 2.4 mg
(Nutrition facts are estimates and not guaranteed to be accurate. Consult a registered dietitian for specific dietary needs.)